
14 vs 16 vs 18 Count Aida: Which Should You Choose?
Compare 14, 16 and 18-count Aida by finished size and stitching comfort, with a size table, fabric allowance example and tips for changing count.
Choose 14-count Aida if you want larger stitches that are easier to see; consider 16-count for a smaller finish, or 18-count when you want the same chart more compact and can comfortably work with smaller squares. There is no requirement to move to a higher count as you gain experience.
The number describes how many full cross stitches fit into one inch when you stitch over one Aida square. A higher count makes each cross smaller. Your chart, colors and number of stitches stay the same.
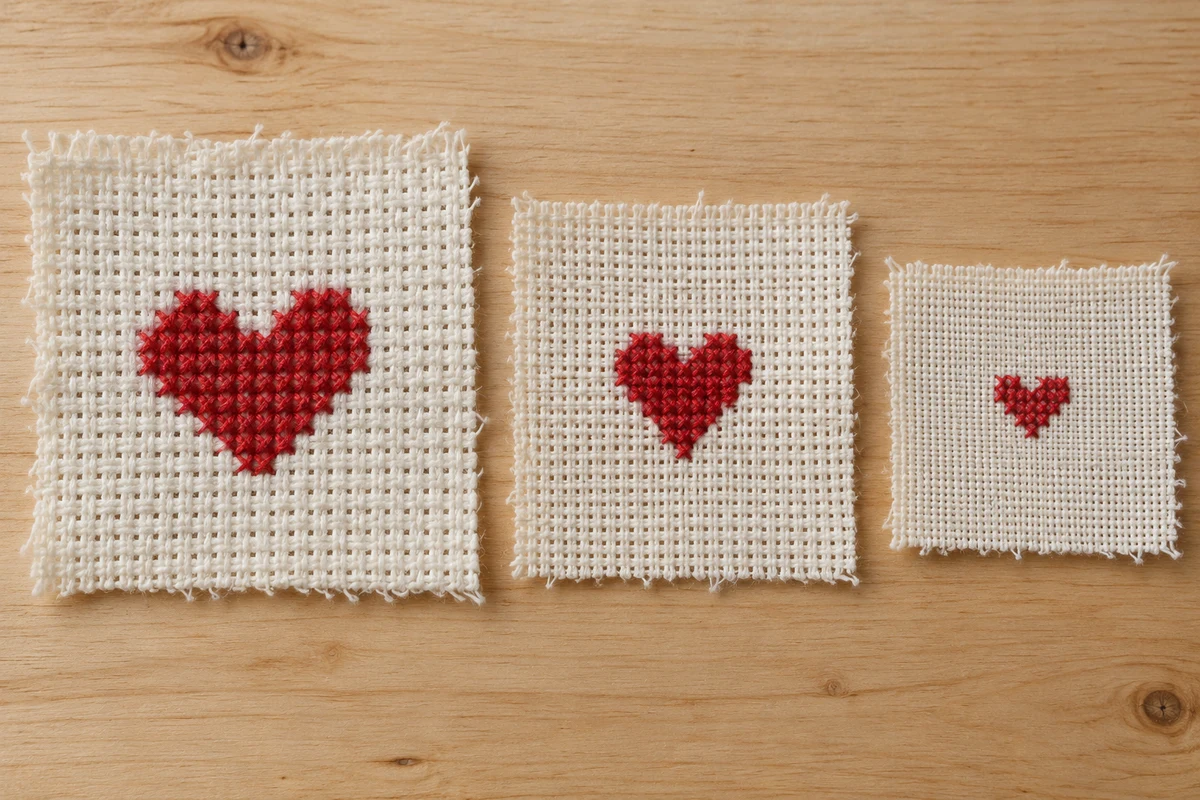
AI-generated illustration of fabric and stitches; the swatches are not measured examples of 14-, 16- or 18-count Aida. Use the calculated comparison below for accurate sizes.
What does Aida count mean?
A row of 14 full crosses measures one inch on 14-count Aida. On 16-count, it takes 16 crosses to cover that inch; on 18-count, it takes 18. Count the squares you stitch across, rather than counting both boundary holes as separate stitches.
DMC's guide to choosing cross-stitch fabric explains this relationship and recommends 14-count Aida for beginners. That is a helpful starting point, but your comfort and intended finished size matter more than a beginner or advanced label.
| Aida | What changes with the same chart? | Consider it when… |
|---|---|---|
| 14-count | Largest stitches and finished dimensions of these three | You want more space to see and place each stitch. |
| 16-count | Each dimension is 12.5% smaller than on 14-count | You want a somewhat smaller finish and find the squares comfortable to work on. |
| 18-count | Each dimension is about 22.2% smaller than on 14-count | You want a compact finish and can follow the smaller squares in your usual lighting. |
Those percentages compare width and height separately, not stitch count or stitching time. A chart containing 5,000 crosses still contains 5,000 crosses on all three fabrics.
The same chart on 14, 16 and 18-count Aida
Use the width and height in stitches printed on your chart. For full crosses over one Aida square:
Finished dimension in inches = stitches along that edge ÷ fabric count.
Multiply the unrounded result by 2.54 for centimeters. Here is a hypothetical 140 × 112-stitch chart on all three fabrics:
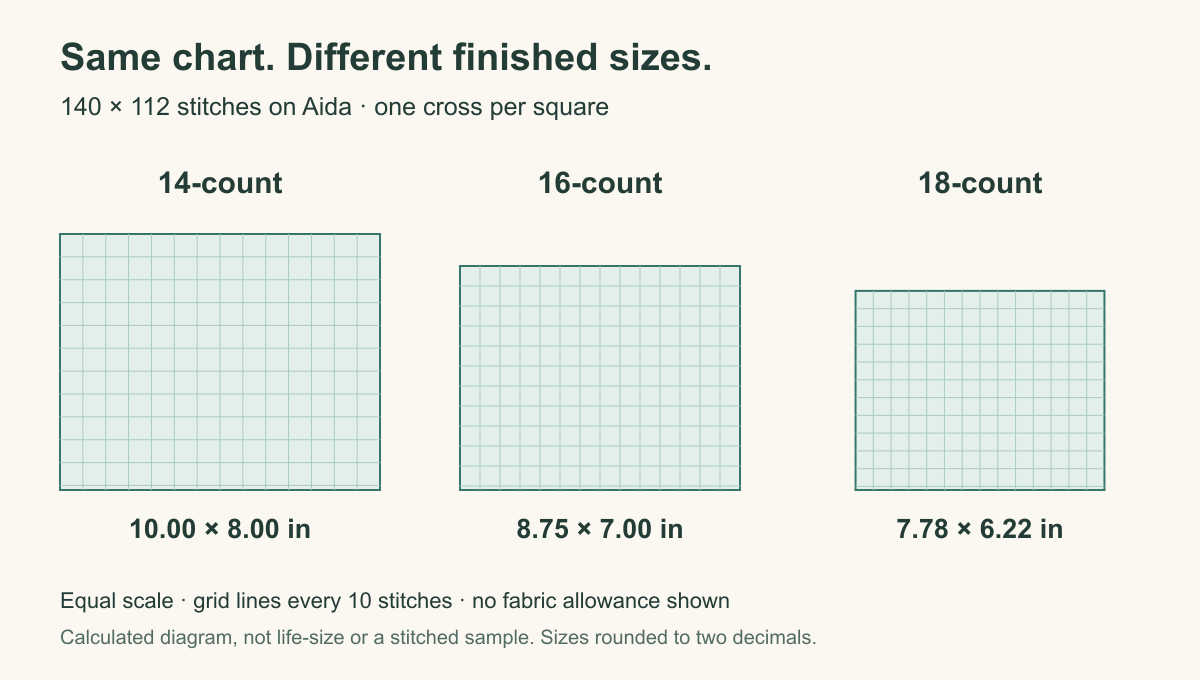
Calculated chart rectangles at the same scale, not stitched samples or life-size fabric. Extra fabric for finishing is not shown.
| Aida count | Chart width × height, inches | Chart width × height, centimeters |
|---|---|---|
| 14 | 10.00 × 8.00 | 25.40 × 20.32 |
| 16 | 8.75 × 7.00 | 22.23 × 17.78 |
| 18 | 7.78 × 6.22 | 19.76 × 15.80 |
Values are rounded to two decimal places. They describe the whole chart rectangle, including any blank cells around the motif. They do not include extra cloth for handling, mounting or sewing.
For this example, an 8 × 10-inch frame opening would match the 14-count chart dimensions exactly, leaving no visible border if the design fills the chart. On 16-count, the chart is smaller than that opening. Check the actual visible opening, the border you want to show and the mounting method before choosing the fabric.
Choose for the way you actually stitch
Finished size is only part of the decision. Before committing to a large project, stitch a small test patch on the fabric you are considering, using your intended thread and normal lighting.
Check whether you can locate the next square easily, follow a diagonal row without losing your place, and see the completed crosses comfortably. If 18-count feels tiring, a larger count number offers no advantage worth forcing. You can make a detailed chart on 14-count; it will simply take up more physical space.
Thread coverage is a separate choice from fabric count. Follow the pattern's strand guidance as your starting point. If you change the fabric, test the coverage again: thread thickness, fabric color and tension affect how much cloth shows between the crosses. Do not assume one strand prescription works for every thread and every count.
If the chart itself feels overwhelming, changing fabric will not simplify its color changes or scattered stitches. Use the beginner pattern checklist to assess the work involved, or simplify an editable pattern's palette when the design allows it.
Can you use a different Aida count from the pattern?
For a chart made of ordinary full crosses, you can usually follow the same symbols on another Aida count. One chart square still represents one cross. You do not need to redraw a 140 × 112 chart just because you switch from 14 to 16-count.
Before switching, check these details:
- Finished dimensions: Recalculate both edges and check the space available in your frame or finished item.
- Fabric allowance: Add extra cloth around the newly calculated dimensions, rather than reusing the original cut size without checking.
- Thread and supplies: Reconsider strand count and thread quantities. A kit's supplied floss was planned for its specified fabric and instructions.
- Special details: Beads, buttons and other fixed-size additions do not shrink with the stitches. Check their fit. Follow any special fabric instructions for fractional stitches or other techniques.
If you need help identifying the symbols and stitch types, read how to read a cross-stitch chart before changing materials.
Add fabric beyond the stitched area
The design dimensions are not the dimensions of the cloth you should cut. You need fabric outside the chart for holding the work and for your chosen finish.
For example, allowing 3 inches on every side of the 140 × 112 chart on 16-count gives:
- Width: 8.75 + 3 + 3 = 14.75 inches.
- Height: 7 + 3 + 3 = 13 inches.
That means a 14.75 × 13-inch piece before rounding up to a practical purchase or cut size. Three inches per side is the starting allowance in Crosspic's calculator, not a guarantee for every hoop, mount or sewing project. Follow your finishing instructions and leave more when needed.
Use the cross stitch fabric calculator to compare your own chart:
- Enter the chart's width and height in stitches.
- Choose 1 square / thread (over 1) for these Aida examples.
- Compare fabric counts 14, 16 and 18 while keeping the stitch dimensions unchanged.
- Set the allowance on each side for your finish. Read the stitched size and fabric-to-cut size separately.
- Switch to centimeters if that is how you buy fabric; the calculator converts the allowance too.
For an original design, choose stitch dimensions and fabric count in the blank pattern creator. If you want a smaller physical finish while preserving the drawing, compare fabric counts before reducing the chart's stitch dimensions.
Questions about changing fabric count
Does 18-count add detail to a photo pattern?
It makes the existing stitches smaller and closer together. It does not add chart cells, colors or missing facial features. For a photo conversion that loses important details, review the crop and stitch dimensions in the photo-to-cross-stitch workflow. Increasing chart dimensions is a separate decision that can increase the workload.
Is 28-count fabric the same as 14-count Aida?
They can produce the same finished size when you work over two threads on 28-count fabric: 28 ÷ 2 = 14 stitches per inch. The fabrics and the way you count across them differ. Similarly, 32-count over two gives 16 stitches per inch, and 36-count over two gives 18. Over two refers to fabric threads crossed, not the number of floss strands in the needle.
Will enlarging the printed chart make the stitches bigger?
No. A larger print makes the symbols easier to read; the fabric determines the size of the stitched crosses. Keep the two choices separate when preparing your pattern for printing.
Check comfort and fit before cutting
Start with the count you can stitch on comfortably, then check whether the resulting dimensions suit your finish. Keep the chart unchanged when you only want to compare fabric sizes. Calculate your stitched area and fabric allowance before buying or cutting the cloth.